Beginner Project #1: A Dog Bandana


Now your four-legged friend can be stylish like you!
Skills taught during this project:
How to tear & press fabric for grain perfection
Straight machine stitch
How to turn corners
How to whipstitch
Supplies & Tools—download & print the list
¾ yard of 45 inch wide fabric
Matching spool of thread
Straight pins
Needle and thimble
Steam iron & ironing board
Fabric scissors
Tape measure & yard stick
Point turner* or pencil
*Affiliate link—As an Amazon affiliate I earn from qualifying purchases.


2. Make a cut 20 inches from the selvage on the top edge of the fabric, and tear along the full length of your cloth.
Repeat this step for the other edges of the fabric.

3. Tear off the selvage so all four sides of the fabric has raw edges.
All four sides should measure 20 inches.
If any of the sides are shorter, cut and tear the longer side(s) so they are all the same.

4. Fold the square of fabric in half and press using steam to get the fabric back on grain.

5. Fold the right sides together to make a triangle shape and press so all of the edges match up.

6.Pin the sides together for sewing.
Leave a three inch opening in the middle of the top edge of the bandanna.
You will use this opening to turn the fabric right side out.

Prep your machine
7. You will be sewing a ¼ inch seam allowance, which is the space between the needle and the outside edge of the presser foot. Make sure your machine is set on a straight stitch and set the stitch length to 2.5.

8. Lift, then lower, the presser foot on your fabric, making sure the outer edge of the fabric lines up with the edge of the presser foot. Make a few stitches, then backstitch. This will reinforce the corner and finish the seam.
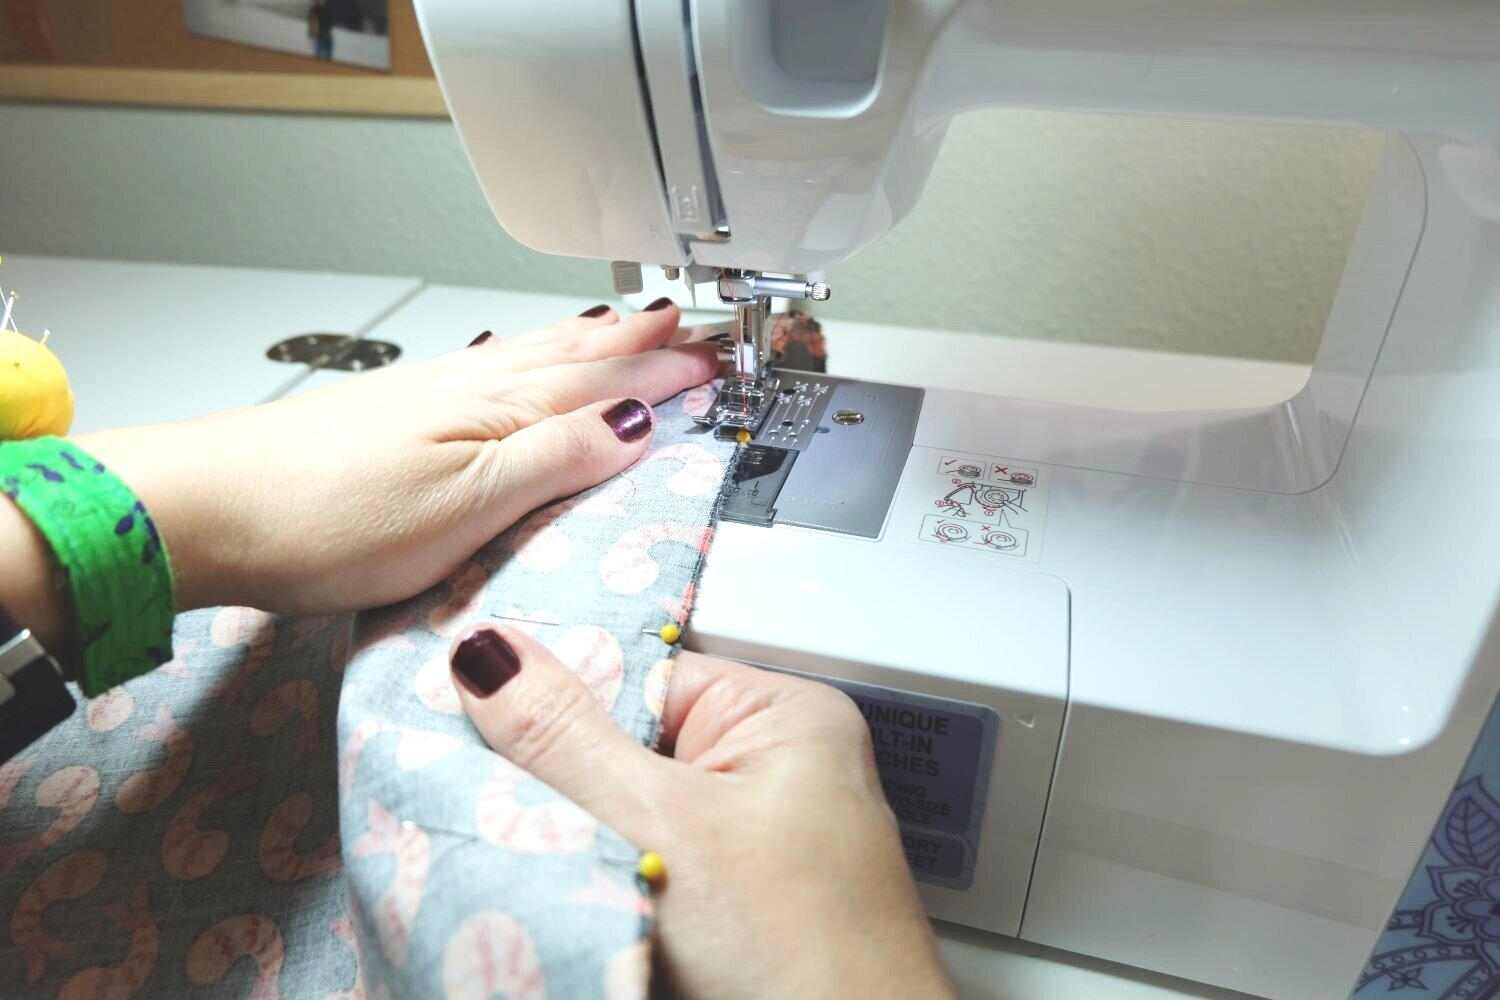
9. Hold the fabric in place along the edge of the presser foot with your right hand, while guiding the fabric through the machine with your left.
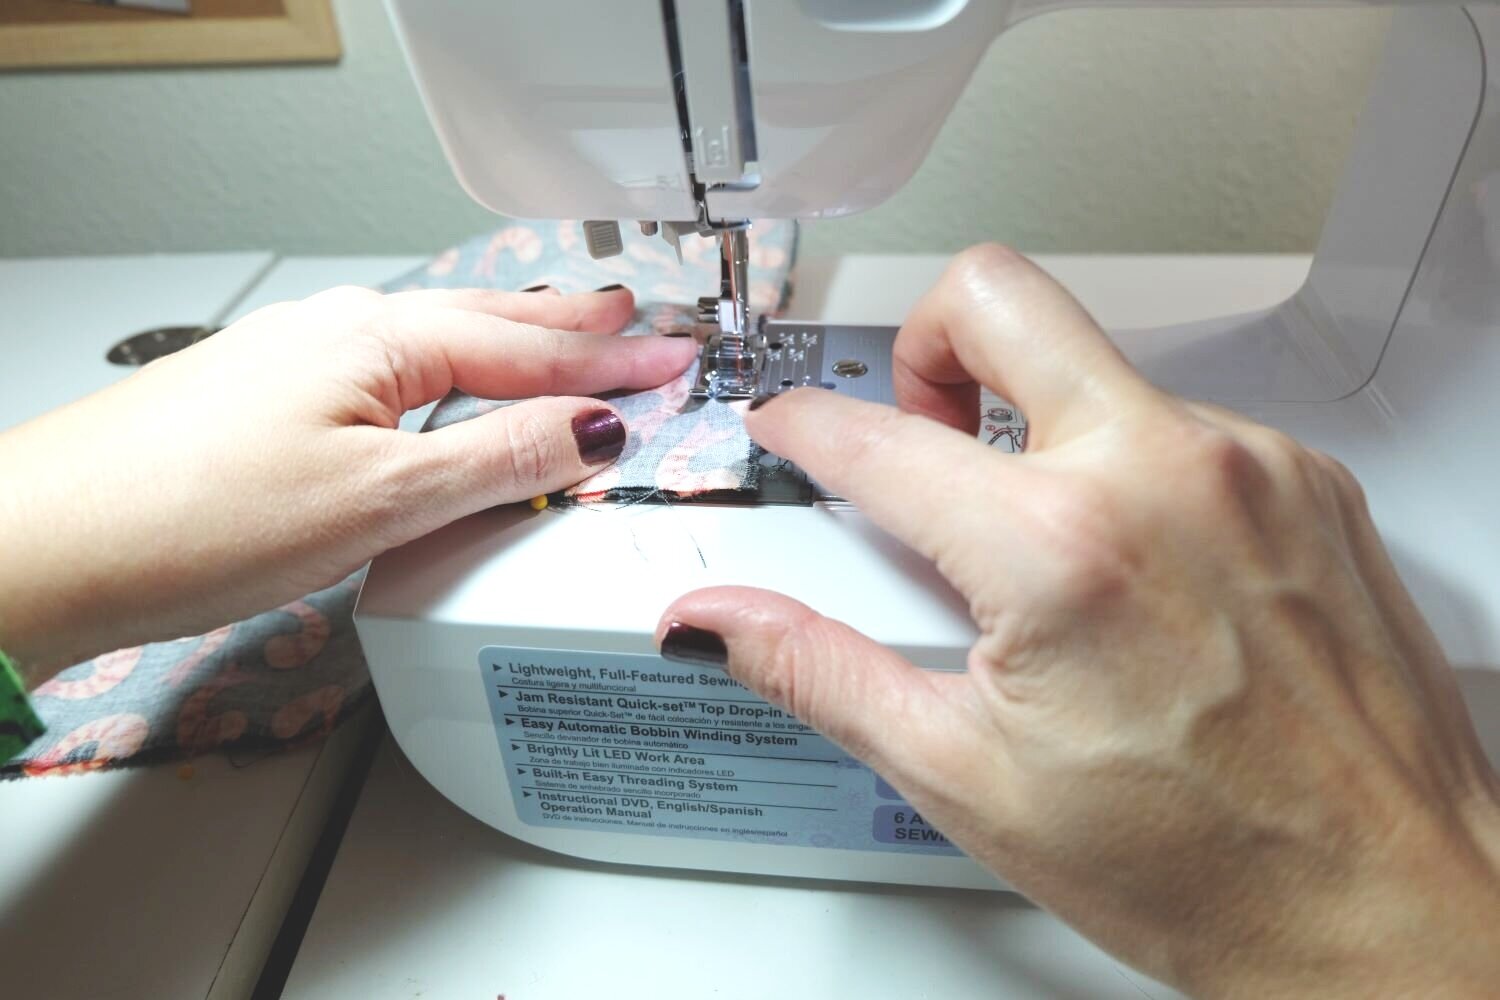
10. When you get to the end of the seam, be sure to backstitch to reinforce the corner.

11. Lift the presser foot and remove the bandanna, to cut the treads at the end of the seam using the thread cutter on the side of your machine.

12. Repeat step 11 to finish the other side of the bandanna.
Don’t forget to backstitch when you start the seam. Be sure to leave the three inch opening on this side of the bandanna.
Backstitch when you get to the opening, then cut your threads. Move the fabric to the other side of the opening and continue sewing to the end.

13. Turn the fabric to the right side through the three inch opening.

14. Use a point turner, or a dull pencil, by sticking it in the corners from the inside of the bandanna to push out the points.

15. Iron the edges of the bandanna. Fold the fabric to make a quarter inch seam allowance at the opening.

16. Whipstitch the opening using small stitches in thread the color of the background of your fabric.
Knot off at the end when you finish, and snip off any loose threads.

Congratulations! You have just finished your very first torn project. Woo-hoo, I knew you could do it!
Now put it on your pet, snap a pic, and post!


Hi, I’m Toni. I teach creative gals how to sew—no experience needed!