Beginner Project #5:
A Gathered Apron with Pockets


Who knew a gathered apron could be cute and functional!
Skills Taught:
Staystitching
Understitching
How to make a turned pocket
How to make & press a waist tie
How to make a casing
Supplies & Tools Needed—download & print the list
1 yard of 45 inch wide cotton fabric
¼ yard of matching 45 inch wide solid colored fabric
Matching thread
Straight pins
Steam iron & ironing board
*Affiliate link—As an Amazon affiliate I earn from qualified purchases.


Fabric preparation
1. Lay out and smooth your length of fabric next to the yard stick.

2. Cut across the selvage of the top layer at 19 inches.

3. Starting at the snip you just made, tear across the entire width of the fabric to get your fabric on grain. This torn piece will be the main part of the apron.

4. Smooth out the remaining piece of fabric along the yard stick and snip the top layer across the selvage, then tear the width of the fabric.
Repeat steps 2 & 3 above to make the apron pocket.

5. Iron the torn edges of the apron and the pocket to smooth.

Edge Finishing
6. Fold and press the selvages to the wrong side of the fabric.
Do this for the apron and the pocket.

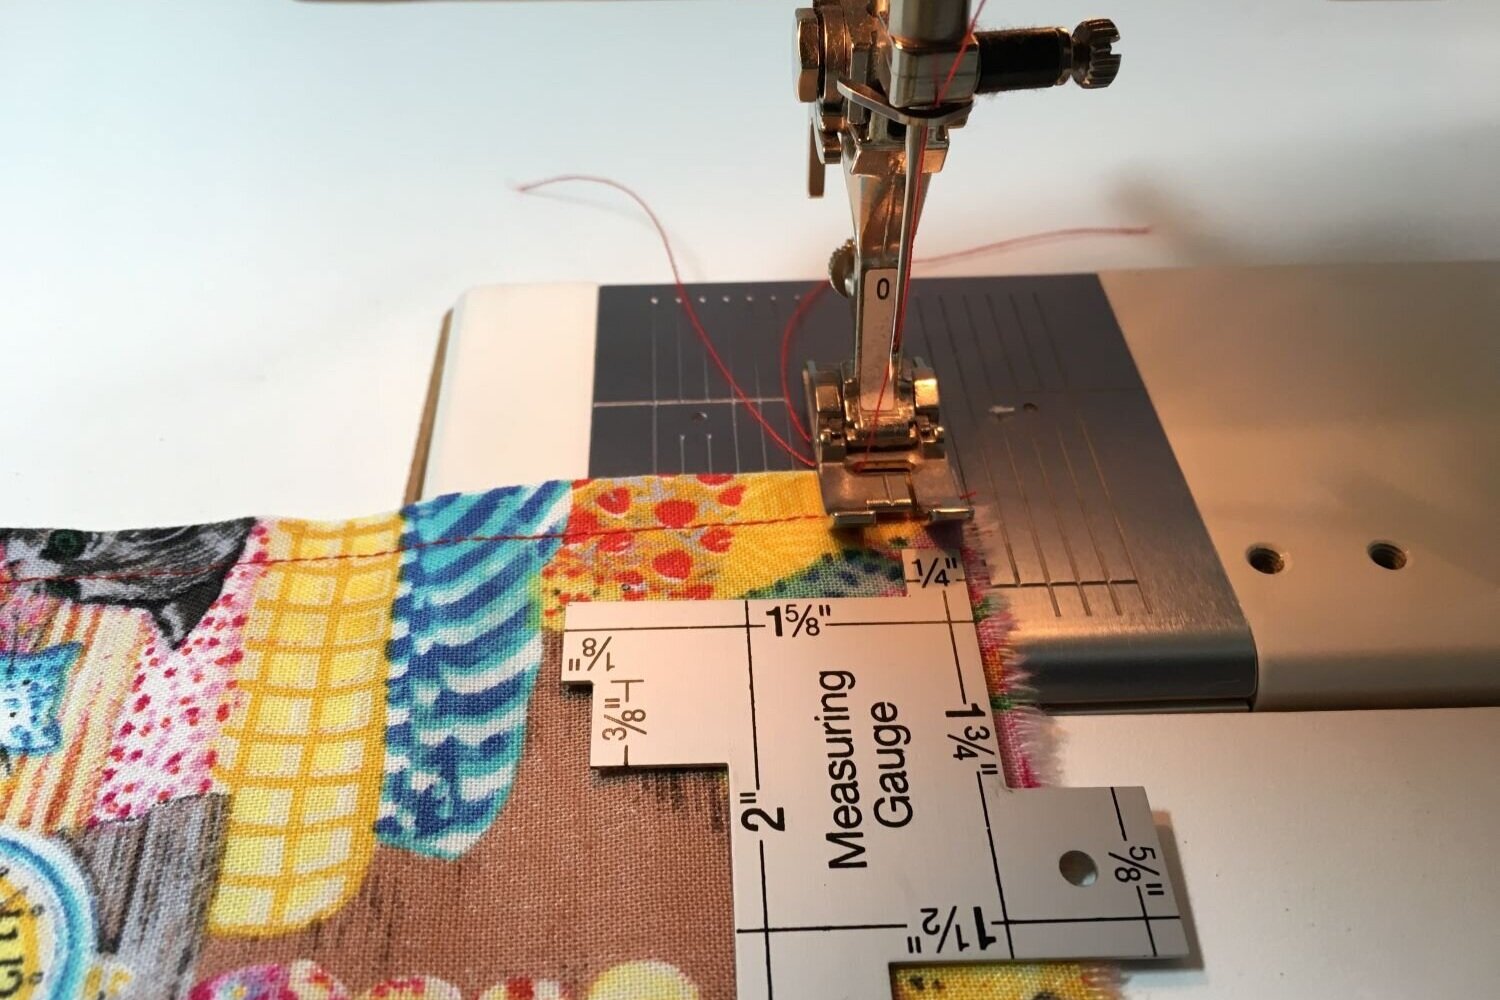
7. Sew the selvage in place on the apron at ¼ inch from the folded edge. This will hold the selvage in place for the rest of the project and your apron will have a finished edge when complete.
Repeat this step with the selvage on the pocket.
Staystitching
8. Staystitch the top torn edge of the apron at ¼ inch from the edge of the fabric.
Be sure to sew across the folded selvage.

9. Staystitch the bottom torn edge of the apron at ¼ inch from the edge of the fabric.
Be sure to sew across the folded selvage.

Folding the Waist Casing
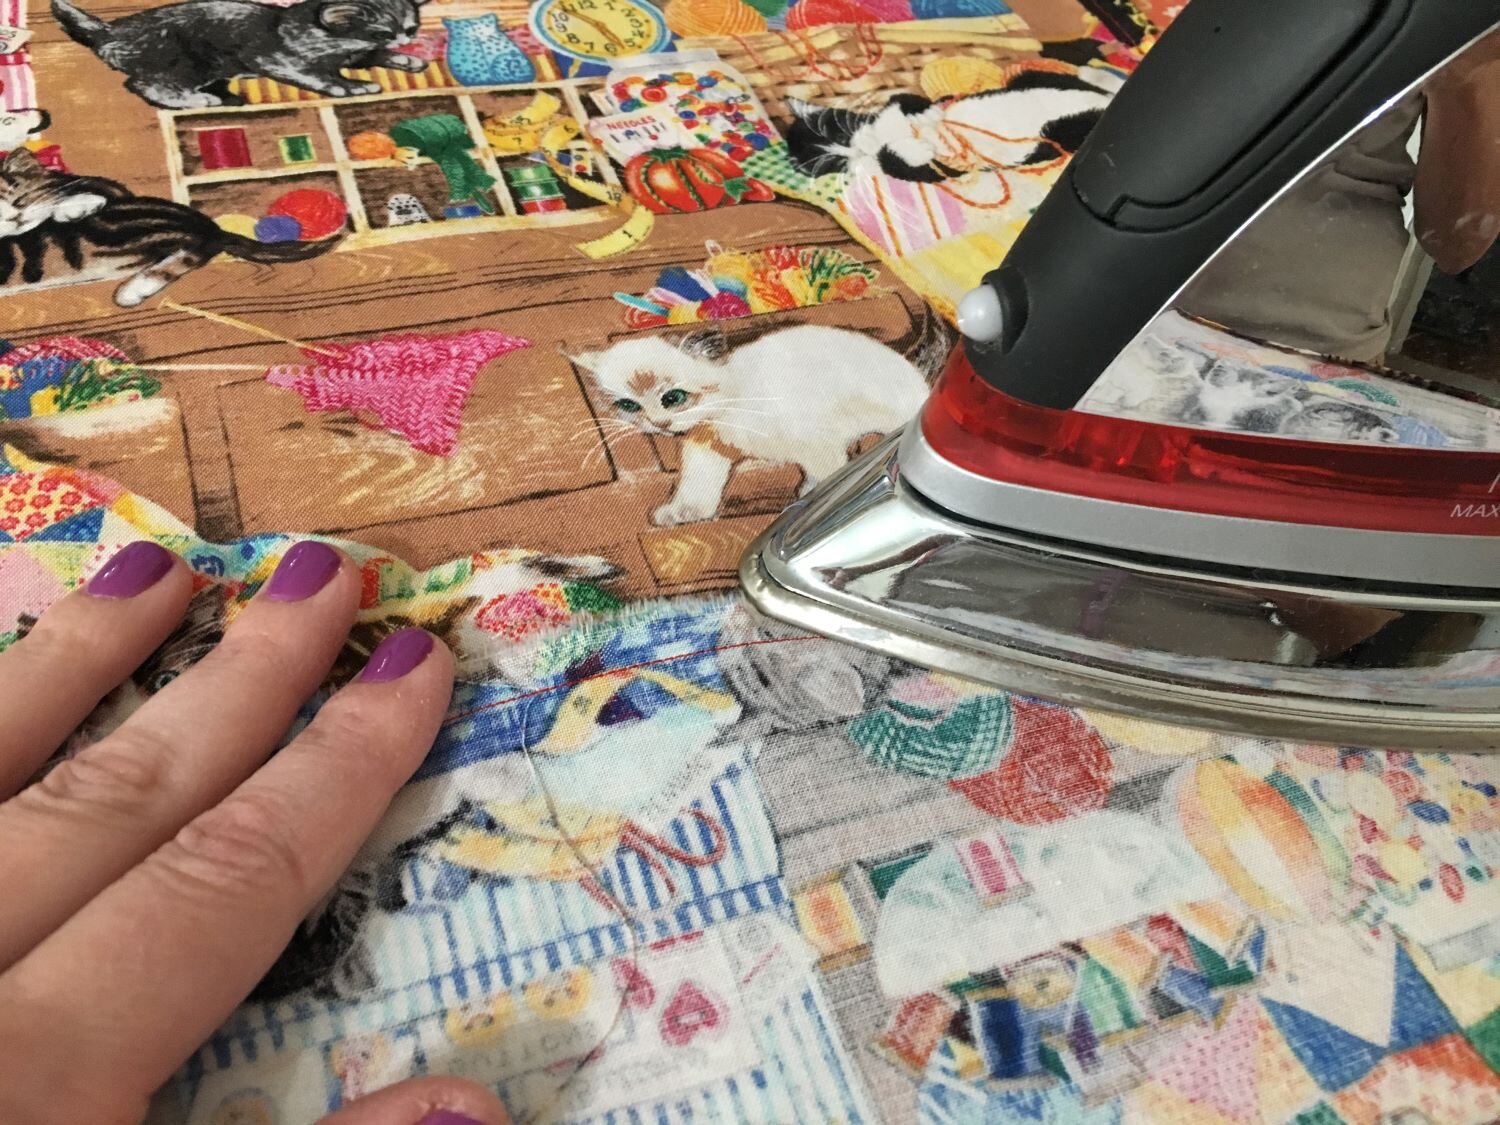
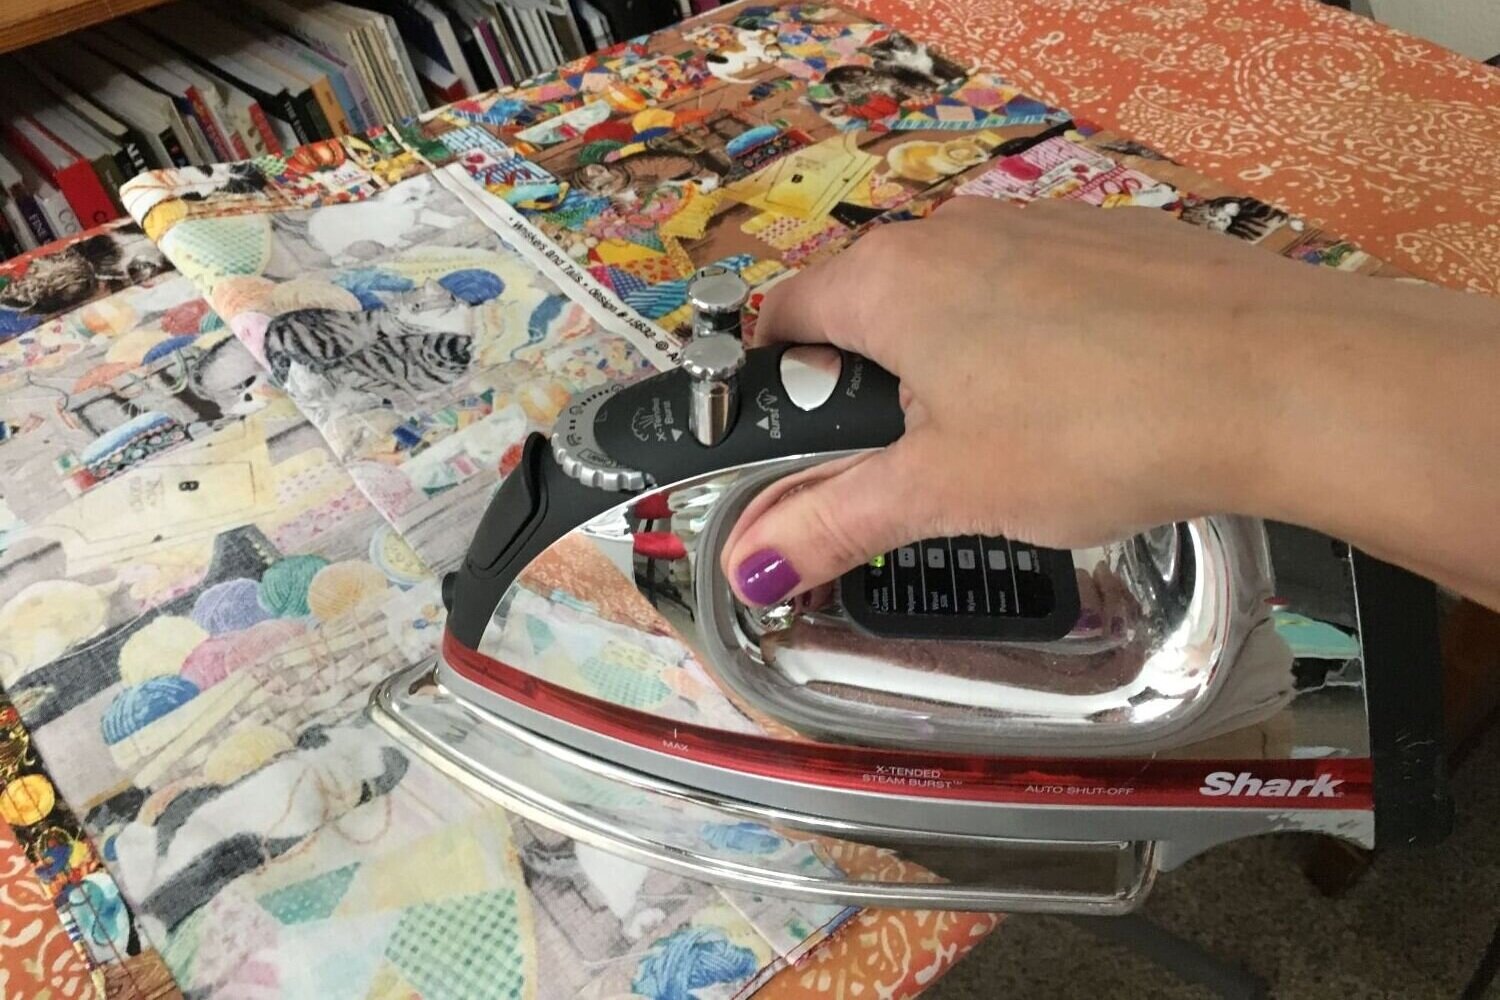
10. Using your Dritz EZY-Hem gauge, fold the top edge of the apron 2 inches.

11. Press & steam the fabric to create a fold. Continue along the top edge of the apron.
Be careful! The Dritz EZY-Hem will get heat up from the iron and steam.
Let each section of fabric (and the EZY-Hem) cool before continuing to the next section of fabric.

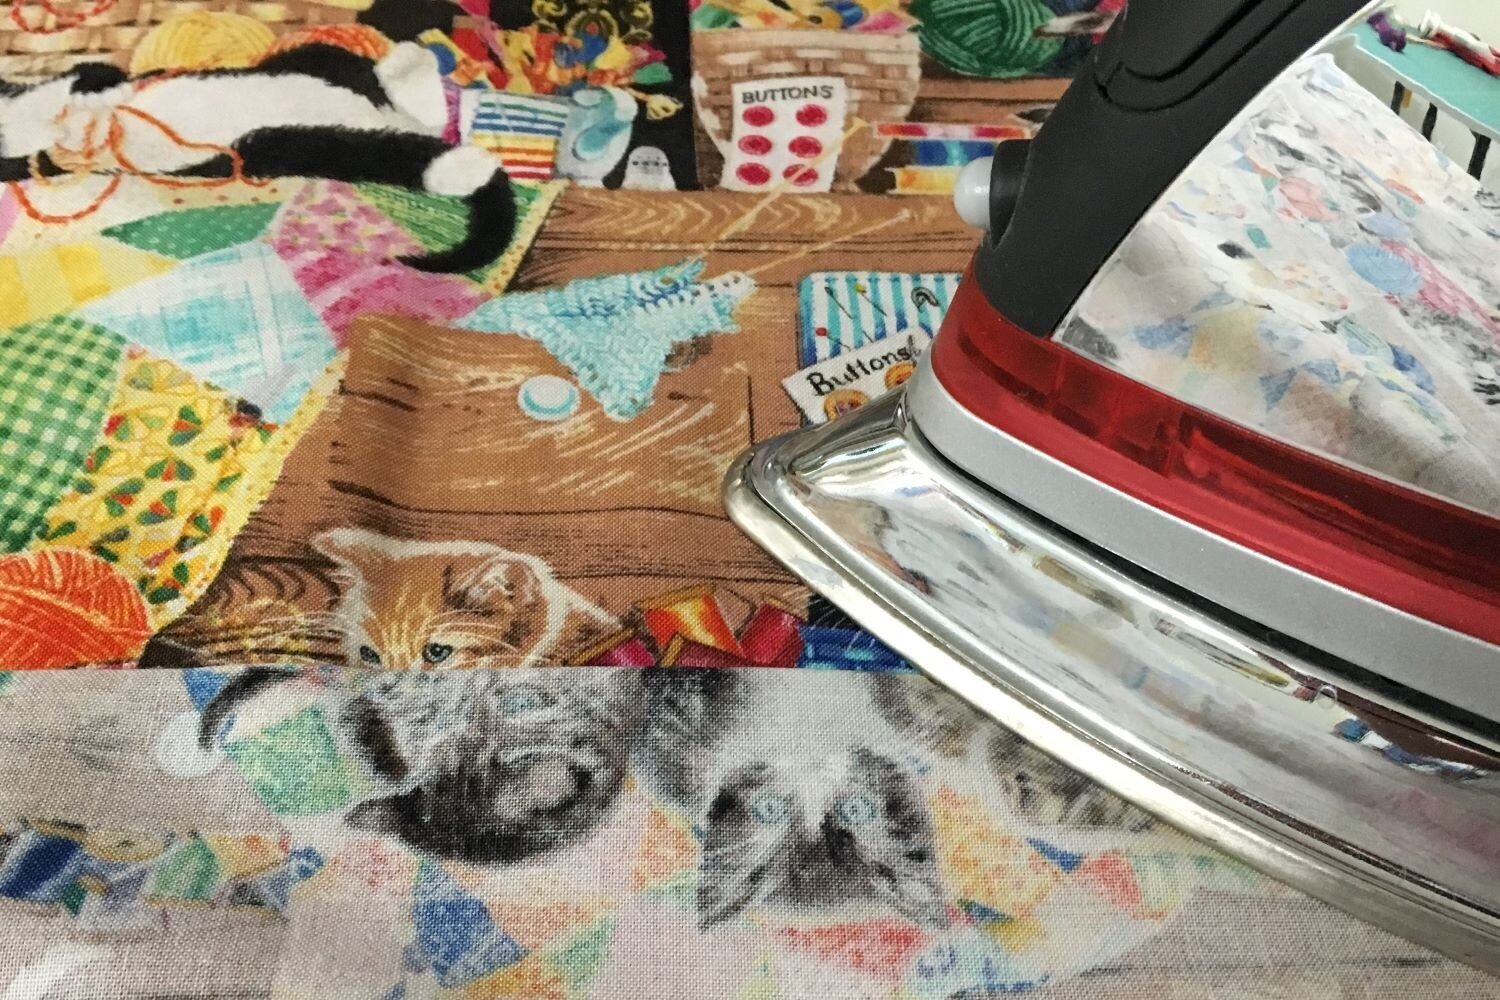
12. Carefully unfold the fold you just created, and fold and press ¼ inch along the line of staystitching. Continue along the top edge of the apron.
Be careful not to steam or press your finger during this process.

13. Refold the casing to the 2 inch fold line.

14. Press the entire casing using steam. Allow the fabric to cool before moving it to make sure it holds the new shape.

15. Pin the top edge of the casing to prepare for sewing.
Put the apron to the side and continue with the pocket.

Folding the Top Edge of Pocket
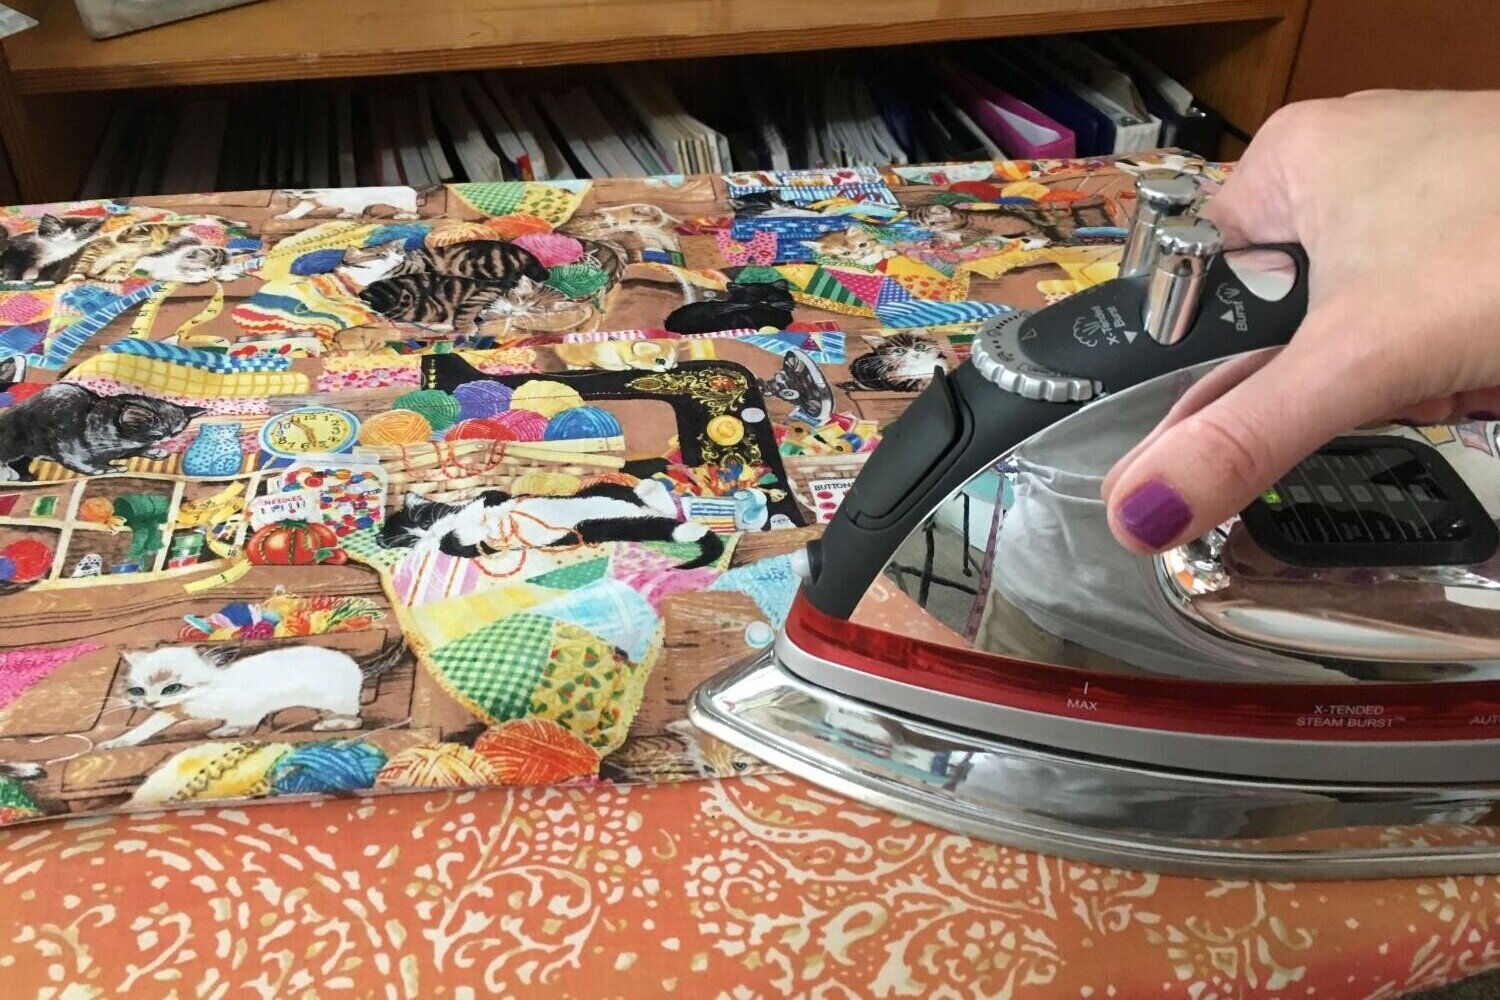
16. Fold the top edge of the pocket at 2 inches using the Dritz EZY-Hem gauge and press. Continue along the top edge of the pocket.
Be careful! The Dritz EZY-Hem will get heat up with the iron and steam.
Repeat steps 12, 13, 14, &15 to finish.

17. When you have finished steps 10 through 16, you should have two pieces of fabric that look like this.

Finishing the Folded Edges
19. Edgestitch ¼ inch from the bottom edge of fold on the pocket. Backstitch at the beginning and end of the line to secure your stitches.
Repeat this step on the bottom of the waist casing on the apron.

20. Stitch ¼ inch from the top edge of the waist casing. Backstitch at the beginning and end of the line to secure your stitches.

Attaching the Pocket
21. Place the right side of the pocket to the wrong side of the apron. Make sure the bottom torn edges of both pieces of fabric line up, then pin.

22. Pin the top of the pocket band to the side edge of the apron to hold it in place while sewing.

23. Continue pinning along the bottom torn edge of the fabric, to hold the pocket and apron together.

24. Stitch ¼ inch from the bottom torn edge. Backstitch at the beginning and end of the seam to secure the threads.
DON’T SEW ACROSS THE PINS! Pull each pin out as you get to it. Sewing across pins can damage your machine and cause a mechanical jam, so just don’t do it.

25. Unfold the pocket from the apron along the seam you just sewed, and you will notice the seam sticks up and doesn’t lay flat on its own.
26. With the pocket open, press the seam towards the right side of the apron.
27. Turn the apron over and press the seam from the back to smooth the ridge along the seamline.

28. From the wrong side of the apron, understitch ⅛ inch from the seam line to attached the seam allowance to the apron.
29. Fold pocket to the right side of the apron and press bottom seam.

30. Pin the pocket to the side of the apron to hold in place in preparation for sewing.

31. Edgestitch ⅛ inch from the edge of the fabric to secure pocket to apron.
Backstitch at beginning and end to secure stitch line.

32.When finished, you will have a second stitch line which secures the pocket to the apron.
Repeat step 31 to secure the other side of the pocket to the apron.

Making the Individual Pockets
33. Fold apron in half to make center line down the middle front.

34. Press on center fold line. Create a press line by using steam and letting the fabric cool before moving.

35. Stitch on center fold line from bottom of the pocket to the top. Backstitch at the beginning and the end to secure stitch line.

36. If the fold line is hard to see, use the yard stick to draw a line on top of the fold using a washable chalk pencil.

37. Sew on the chalk line from the bottom of the pocket to the top. Backstitch at the beginning and the end to secure stitch line.

38. Fold each half side into a quarter.

39. Press on quarter fold line. Create a press line by using steam and letting the fabric cool before moving.

40. Fold the quarter into eighths.
41. Press on the fold of each eighth. Create a press line by using steam and letting the fabric cool before moving.
Repeat step 36 to mark fold lines and step 37 to make each pocket until there are eight pockets.

Making the Waist tie
42. Using the contrast fabric, snip at 3 inches and tear the width of the fabric. Fold and press to get the strip on grain.
Repeat this step so you have two 3 inch wide strips.

43. Using the Dritz EZY-Hem, fold the bottom edge to ½ inch and press in place.
Repeat this step for the top edge of the band.

44. Repeat step 43 with the second strip of contrast fabric.

45. Pin the two strips of fabric together to connect them and make the waist tie.

46. Sew a ¼ inch seam to permanently join the two pieces together.

47. Press the seam open so it lies flat.

48. Fold the end of each tie ½ inch and create a press line by letting the fabric cool before moving.
Repeat step 48 at the other end of the waist tie.

49. Fold the strip in half and hard press to hold the shape by letting the fabric cool before pressing the next section.
When finished you will have a 1 ½ inch wide waist tie.

50. Edgestitch the open side of the waist tie at ⅛ inch seam line.
Take your time to keep the fabric smooth while sewing, this is a long waist tie!
Repeat step 50 along the top edge of the waist tie.

51. Edgestitch ¼ inch at each end of the waist tie to finish.

Inserting the Waist tie into the Apron waist casing
52. Using the large Clip N’ Turn, fasten the end of the waist tie into the slot of the turner. Make sure it’s secure.

53. Using the turner, feed the waist band into and through the waist casing keeping the tie as flat and smooth as possible.
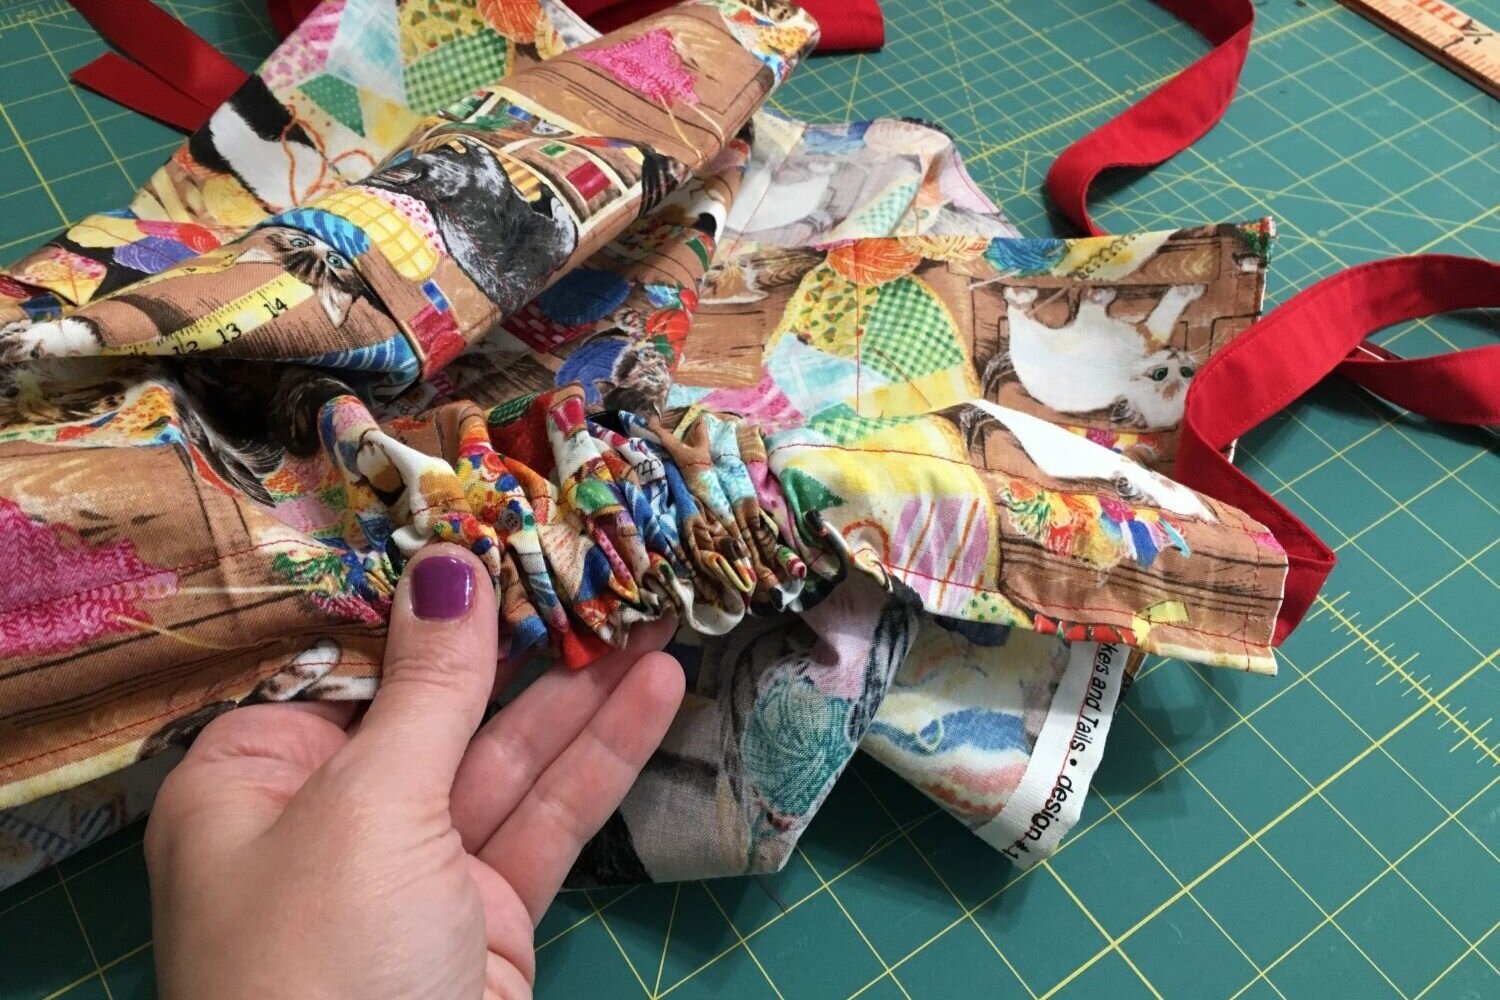
54. As you get toward the middle of the apron, start gathering the casing to move the tuner and waist tie to the other end of the casing, as needed.

55. Once the waist tie is out of the other side, smooth the gathers. Adjust the waist tie so there is an even length on each side of the apron.

56. Stitch the waist tie in place by stitching through the casing across the center line of the apron using the pressed fold line from step 34.

Make gathers
57. From the center stitch line (step 60) scrunch the apron to make gathers along the waist tie until the desired fullness is reached.
I measured 13.5 inches from the center line for my gathers. Pin the gathered apron to the waist tie.

58. Sew on top of the existing stitch line to secure the apron to the waist tie and hold the gathers in place.
Repeat this step on the other side of the waistband.

Adjust the gathers to even them out and your apron is ready to wear! Snap a pic and email me: toni@sewsewlounge.com

Hi, I’m Toni. I teach creative gals how to sew—no experience needed!