Beginner Project #4:
A Wine Bottle Gift Bag


Show up with a handmade gift bag and a bottle of wine, and always get invited back!
Skills Taught:
How to make a casing
How to gather & sew a curved seam
Supplies & Tools—download & print the list
½ yard of 45 inch cotton fabric
1 yard color coordinated grosgrain ribbon
matching spool of thread
straight pins
large safety pin
Steam iron & ironing board
Scissors
Tape measure & yard stick
*Affiliate link—As an Amazon affiliate I earn from qualified purchases.


Prepare the Fabric
1.Measure 14 ¾ inches down the length of your fabric and snip. Tear across the width of the fabric along the grainline.

2. Measure 6 inches across the width of your fabric and snip 1 inch. Tear along grain line.

Repeat step 2. You need two pieces of fabric the same size to make the sides of the wine bag.

3. Fold each piece in half along the width of the fabric to return to grain perfection and to make sure all of the edges match up.

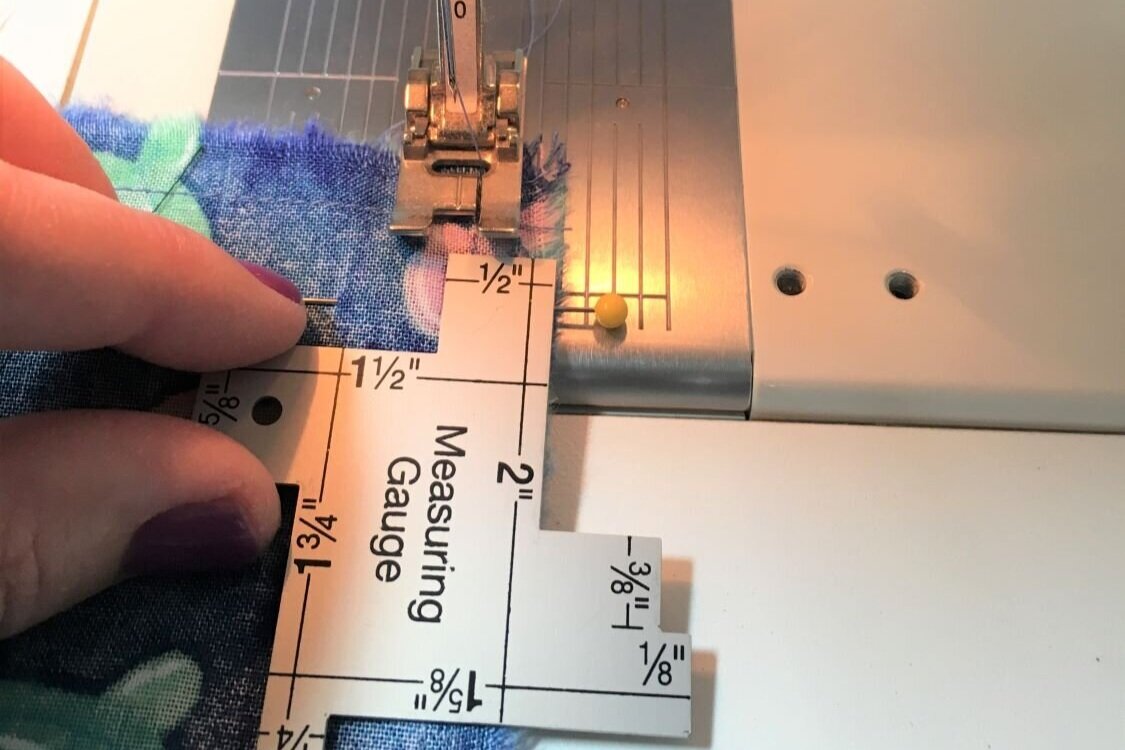
4. Staystitch the outside edge of your fabric ¼ inch from the edge of the fabric.
If the fabric is slightly raveled, line the presser foot up with the solid edge of the fabric.

5. Continue to sew ¼ inch down the length of your fabric.

6. Staystitch ¼ inch across the top and bottom width of your fabric.

7. Snip the hanging threads around the edges of both pieces of fabric.
Snipping threads at the end of a seam will prevent the extra thread from getting caught in the rest of the project.

Repeat steps 4-7 on your second piece of fabric so all of the sides are staystitched.

Prep the Casing
8. Using your Dritz EZY-Hem and fold the top edge ¼ inch along the width of your fabric.

9. Press the seam in place using your steam iron.
Be careful! The Dritz EZY-Hem will get heat up from the iron and steam.
Let each section of fabric and the EZY-Hem cool before continuing.

10. On the same edge, using your EZY-Hem fold your fabric 1 ½ inches.

11. Using your steam iron, press your fabric along the fold.

12. Repeat steps 8, 9, 10, & 11 on the second piece of fabric. When you finish, both pieces of fabric will have finished top edges, which will become the casing.

Sew the Side Seams
13. Match the two pieces of fabric, right sides together. Measure 4 inches from the finished top edge.
Pin down the left side to the bottom of the bag to connect the two pieces of fabric along the seam line.
14. Starting with the unfinished edge at the bottom of the bag, stitch ½ inch from the edge to create a seam. Remove each pin as you get to it.
DON’T SEW ACROSS THE PINS! Sewing across pins cause mechanical jams and damage your machine.

15. Backstitch the seam at the last pin marking 4 inches from the top edge.
16. Without lifting the presser foot, change the stitch length to the longest stitch length (basting stitch) on your machine.

17. Unfold the top finished edge and baste the rest of the seam.

18. Using your steam iron, press the seam open so it lies flat against the wrong side of the fabric.

Edgestitch the Side Seam
19. Measure 5 ½ inches from the top edge and pin across the seam.
Make sure the top ¼ inch stitched edge is folded under to the wrong side.

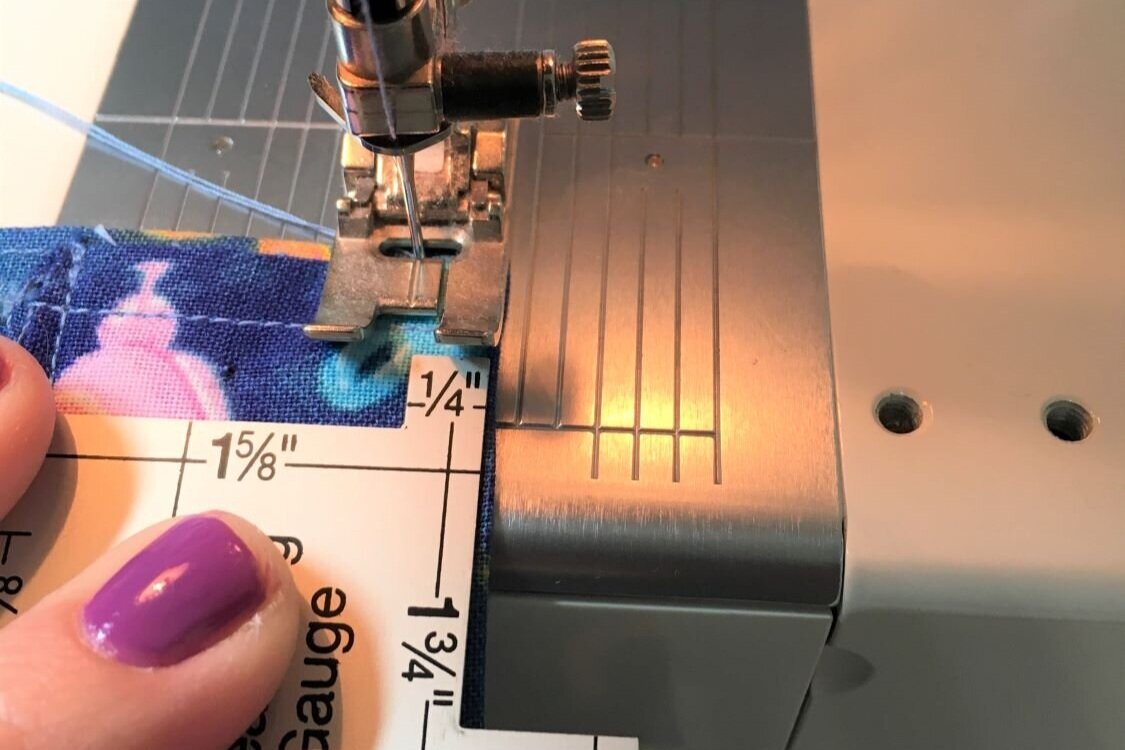
20. Place the edge of the presser foot along the seam line so the needle is ¼ inch from the seam.

21. Edgestitch along the seam until you reach the pin.

22. At the pin, roll the hand wheel towards you, so the needle goes into the fabric.
23. With the needle in the fabric, lift the presser foot and turn your fabric 90 degrees. Stitch perpendicular to the original stitch line across the seam.

24. Continue to stitch and stop when the needle is ¼ inch past the seam line.
Repeat step 23 so you are topstitching up the other side of the seam.

25. Using thread snips, carefully cut the basting threads holding the seam together.

26. Open the seam and pull out and loose threads.

27. With right sides together, pin the open sides of the bag together.
Make sure the top ¼ inch stitched edge is still folded under to the wrong side.

28. Stitch ½ inch along the edge of the fabric to close side of the bag.

29. Press the seam open.

Make the Casing
30. Re-fold the top edge of the bag to form the casing. Make sure it measures 1 ½ inches all the way around.

31. Press the casing along the top edge.

32. Edgestitch along the bottom edge of the casing.
Be sure to backstitch at the beginning and end of the casing.
33. Edgestitch ¼ inch from the top edge of the casing.
Be sure to backstitch at the beginning and end of the casing.

Make the Bottom of the Bag
34. On the wrong side of the bottom of the bag, line up the curve template placing the bottom of the template on the stay stitched line at the bottom of the bag.
Make sure the sides of the template are lined up inside of the side seam stitch lines.

35. Trace the bottom edge of the template using a chalk marking pencil in a contrasting color.

36. Set the machine stitch length to basting stitch and start sewing just outside the seamline, along the chalk line.

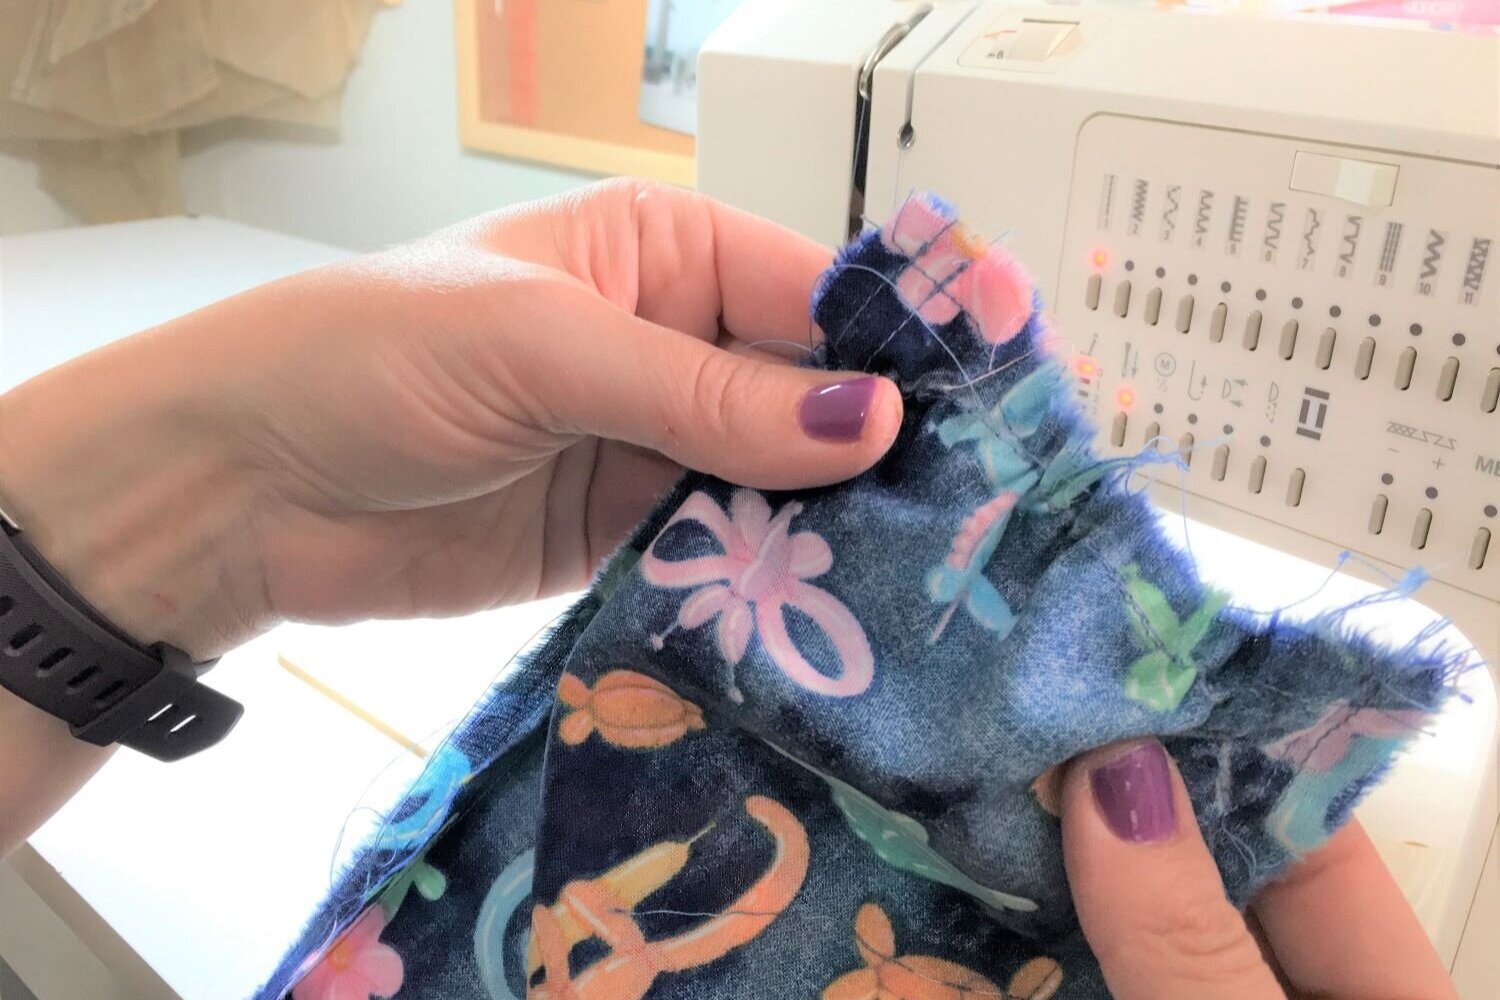
37. Pull the basting thread on the bottom side of the bag.
Always pull the bottom thread when gathering since it slides better than the top thread.

38. While pulling the basting thread gather the bottom of the bag along the chalk line.

39. Make sure the gathers reduce the width of the bag to 4 inches between the side seams.

40. At each end of the curved seam tie the basting threads in a knot.
41. Even out the gathers along the seam.

42. Trim the seam to ¼ inch along the curved line and cut off the corners.
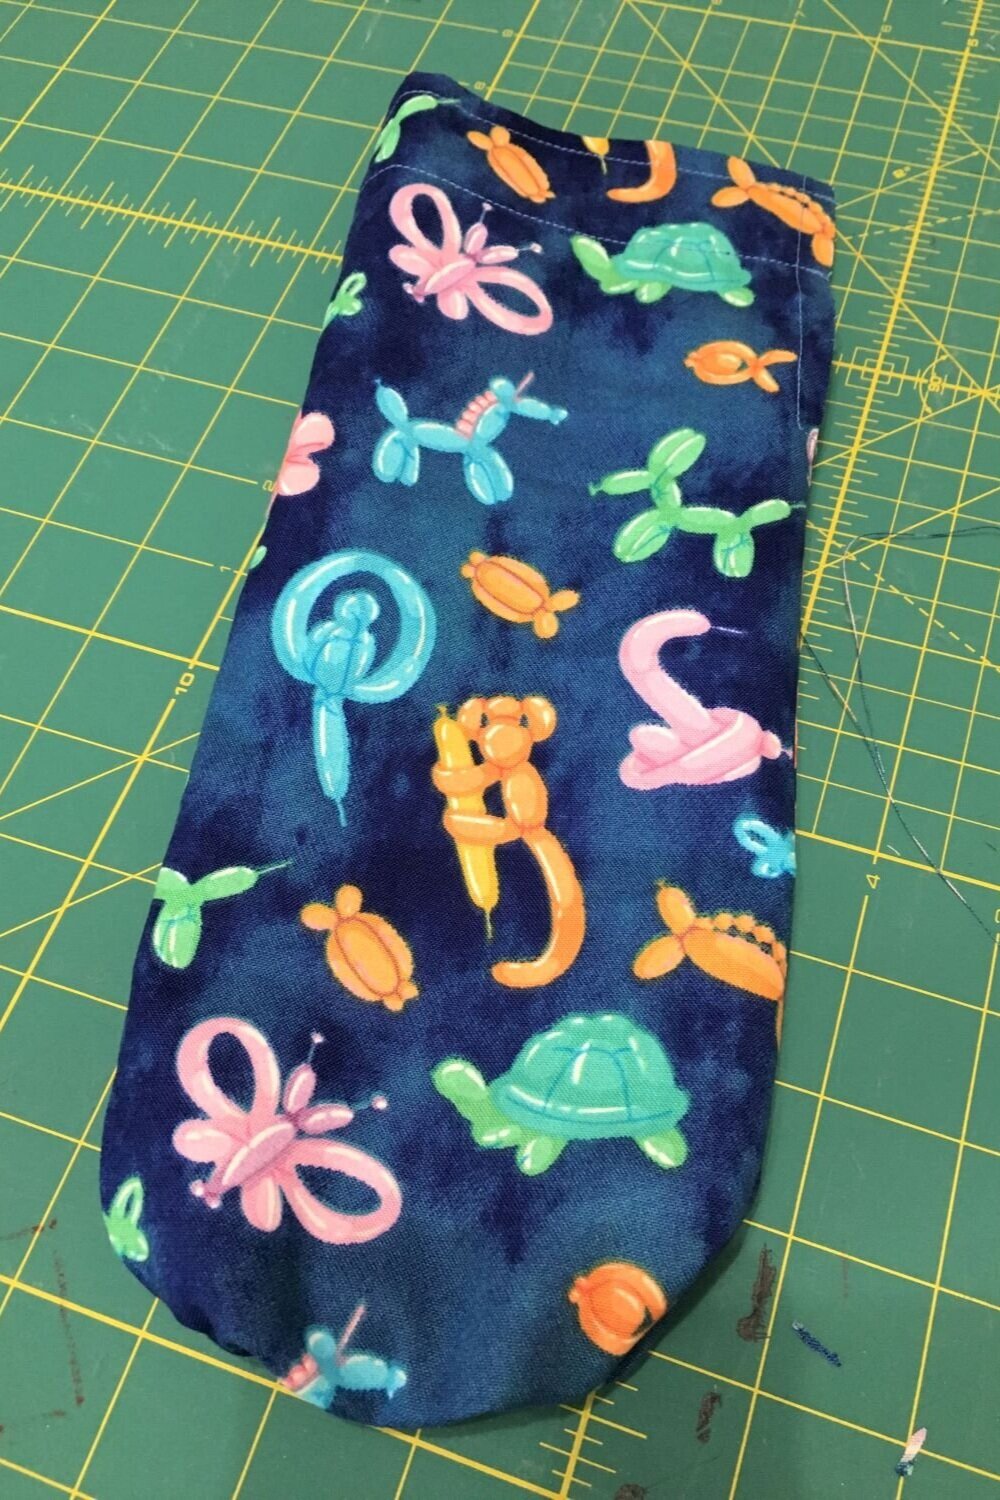
43. Turn your bag right side out. Take a few seconds to admire the beautiful curve you just made.

Insert the Ribbon Tie
44. Insert a safety pin into the edge of your grosgrain ribbon.

45. Insert the safety pin with ribbon attached into the casing.

46. Feed the safety pin through the casing, gathering the fabric as needed. Keep the ribbon flat during this process.

47. Pull the ribbon out of the other end of the casing and remove the safety pin.

48. Cut both ends of the ribbon on the diagonal.
Even out the ribbon, so an equal amount is on each side of the casing.

49. Put a wine bottle in your bag. Gather the casing to evenly distribute the fabric around the neck of the bottle and tie the ribbon in a bow.
Your wine bag is now ready for gifting!! Cheers!

Hi, I’m Toni. I teach creative gals how to sew—no experience needed!