Beginner Project #3:
A Pleated Cocktail Apron


Don’t forget to print the pleat template!
Be the hostess with the mostess in this sassy cocktail apron!
Skills taught in this project:
How to make pleats
How to make a waistband
How to make a hem
Topstitching
Edgestitching
Supplies & Tools—download & print the list
¾ yard of 45 inch wide fabric
Matching Spool of Thread
Clip ‘N Turn* fabric turner
½ inch wooden dowel
*Affiliate link—As an Amazon affiliate I earn from qualifying purchases.


Prepare the Fabric
1.Lay out your ¾ yard of fabric. Measure 36 ½ inches across the top of the fabric from the left hand selvage.
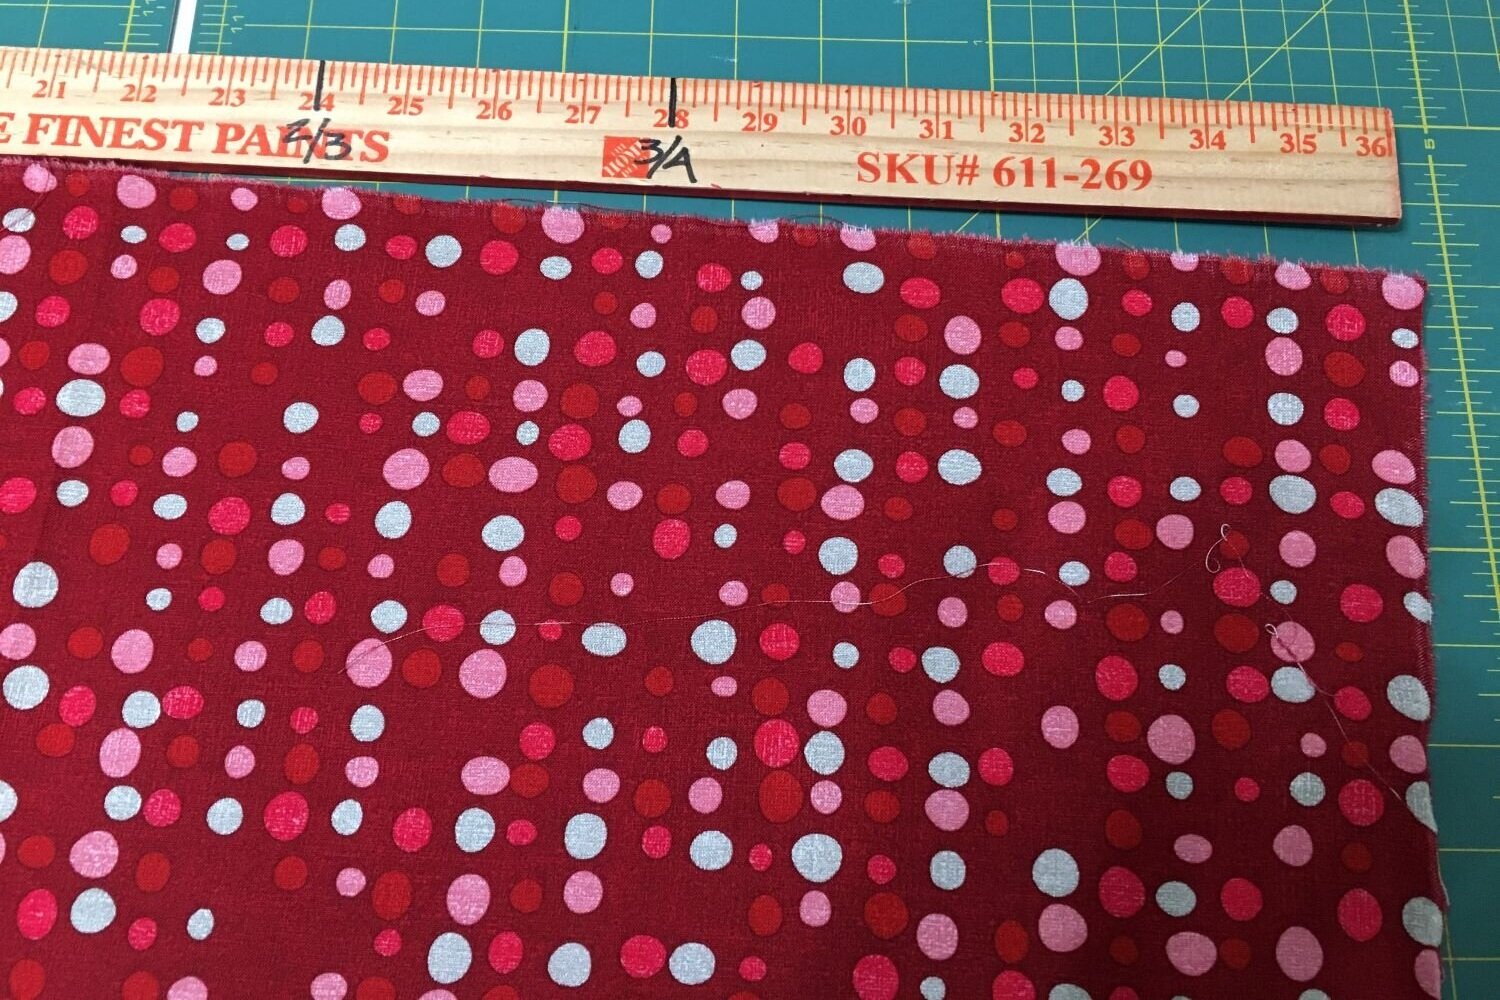
2. Make a snip and tear the entire length of the fabric.

3. Pinch the left selvage side of the fabric with your thumb and snip 1 inch from the top, across the selvage.
If you don’t have a ruler handy, the width of your thumb is about 1 inch.

4. Tear the width of the fabric to get it on grain.

5. Measure 18 inches down the side of the fabric and snip. Tear across width of fabric.

6. Press the torn edges of the fabric flat. Fold your fabric in half, matching the edges, and iron to return to grain perfection.

7. Staystitch the bottom edge of the fabric ¼ inch.
Repeat this step on each the side of the apron. Leave the top torn edge unfinished.

8. Fold the sides of that apron at the staystitch line.

9. Press the folded edge to keep in place. Use steam and allow the fabric to cool before moving on to the next section.

Make the Hem
10. Use the Dritz EZY-Hem to fold the bottom hem 2 ½ inches, then press using steam.
Be careful! The Dritz EZY-Hem will get heat up from the iron and steam.
Let each section of fabric and the EZY-Hem cool before continuing along the rest of the hem.

11. Unfold the hem, and fold and press along staystitch line, as in steps 8 & 9. This will make a finished edge on the hem.

12. Refold on the hem line and press again.

13. Edgestitch the side of the hem ⅛ inch.

14. Using the hand wheel of your machine, roll the needle into the fabric and lift the presser foot and turn fabric 90 degrees.

15. After turning the fabric, lower the presser foot and continue to edgestitch along top of hem.

16. When you get to the other side of the apron, repeat step 14 to finish the side of the hem.

Finish the Side Seams
17. Starting from the edgestitch line of the hem, continue to edge stitch along the side of the apron to finish.
Repeat this step on the other side of the apron.

18. After completing step 17, the side edges of the apron with have a neat stitch line, ⅛ from the edge.

Make the Pleats
19. Fold your apron in half with the unfinished torn edge running across the top and the fold on the left.
Line up the pleat cutting template on the center fold and along the top edge of the fabric.

20. Hold or pin the template in place so it doesn’t move. Snip the top edge of the apron in the notches.

21. Starting from the center fold line, match the first snip line to the second snip line to make the first pleat.

22. Pin the pleat in place.

23. Continue towards the outside edge of the apron, matching the snip lines and pinning the pleats in place.
Repeat steps 22 & 23 to make pleats on the other side of the apron.

24. When you finished matching and pinning the pleats, you should have four pleats on either side of the front panel.

25. Press the pleats into your apron. For a hard pleat, start at the top by the pins and press down each pleat towards the hem using steam. Wait for each pleat to cool before moving to the next one.
Repeat this step until all of the pleats are pressed.

26. Once all of the pleats are pressed, baste them in place ¼ inch from the top edge.

Make the Waistband
27. Tear the remaining fabric into two, 3 ½ inch wide strips.
Press the torn edges smooth.

28. Measure 9 inches from the bottom edge of the band and mark with a pin.
Repeat on the top edge of the band.

29. Staystitch along the 9 inches of fabric that you marked in step 28 from torn edge up to the pin.
DON’T SEW OVER THE PIN!!
Repeat on the top edge of the band.

30. Starting from the marking pin in step 27, fold the rest of the waistband in half and pin along raw edge.
Repeat steps 28,29, & 30 with the second waistband strip.
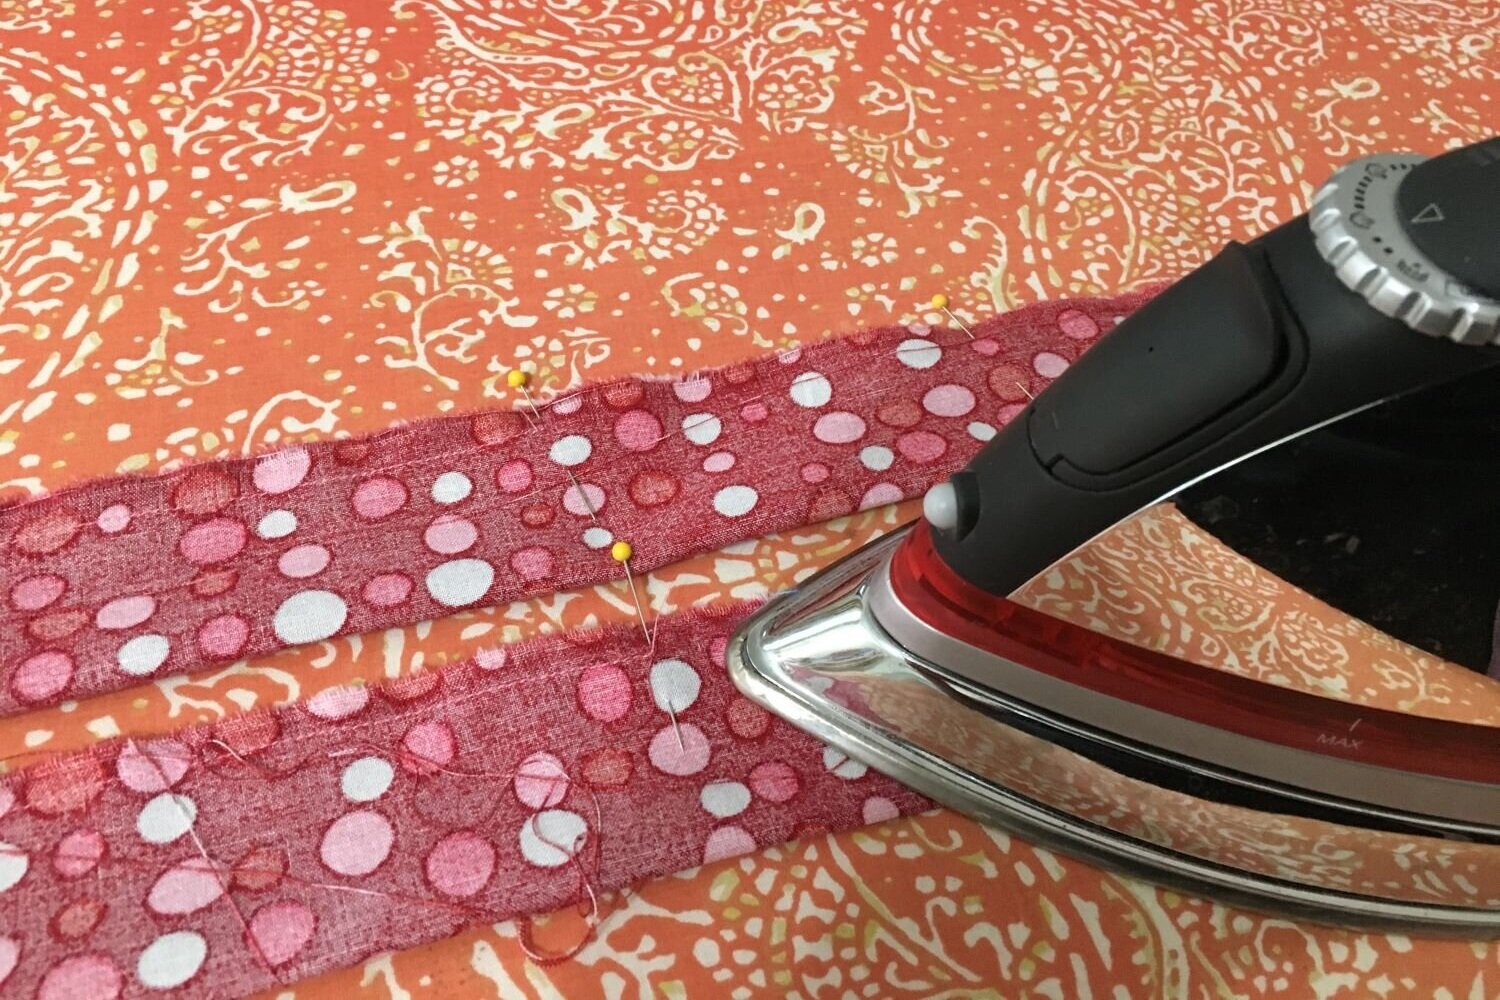
31. Press fold into BOTH pinned waistband strips.

32. Starting from the marking pin in step 27, sew ¼ inch from the torn edge to the other end of the waistband.
Repeat this step for the second waistband strip.

33. Insert the wooden dowel, or yard stick, into the sewn waistband.

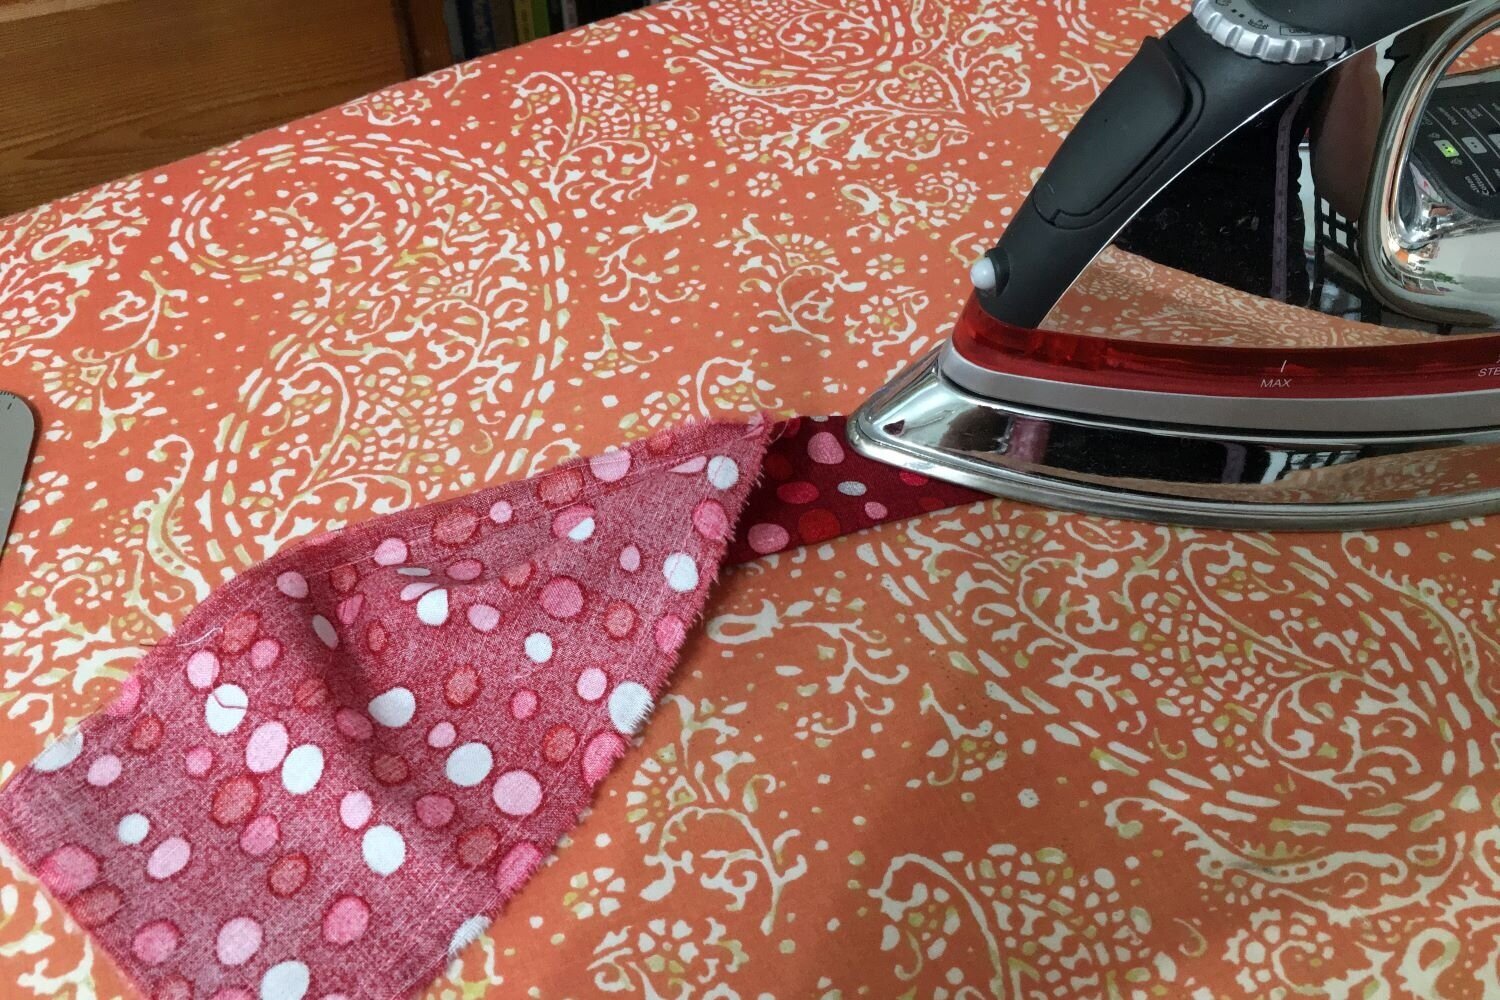
34. Using the wooden dowel, press the seam flat.

35. Once you have finished, the seam will lay flat on top of the dowel; remove the dowel. Pressing will help the waistband turn and keep the seam flat.
Repeat steps 33, 34, &35 with the other waistband strip.

Turning the Waistband
36. Open and take out the larger turner in preparation for turning the waistband.

37. Insert the pointy end of the turner into the end of the waistband strip and clip the turner in the middle of the pressed seam.

38. Scrunch the fabric down over the turner, towards the clipped seam. Balancing the pointy end of the turner on a table will allow you to use both hands.

39. Continue to scrunch fabric until the turner comes out the other end of the waistband piece.

40. Unclip turner from seam and turn the waistband to the right side.
41. Press fabric waistband tie part of the strip.
Repeat steps 37, 38, 39, 40, & 41 using the second waistband strip.

43. Using the Dritz EZY-Hem, press the end of waistband tie ½ inch by using steam and allowing the fabric to cool before moving.
Be careful! The Dritz EZY-Hem will get heat up from the iron and steam.
Let each section of fabric and the EZY-Hem cool before continuing.

44. Using the pressed ½ line, fold the fabric to the inside to finish the end of the waistband tie.
Repeat steps 43 & 44 with the second waistband strip.

45. Match the inside of the waistband strips to join them together and pin.

46. Sew ½ inch from the raw edge to join waistband strips together.

47. Press the seam flat.

Attaching the Waistband to the Apron
48. Line up the waistband opening with the pleats,right side of waistband to wrong side of apron, so the edge of the opening matches the side of the apron.
Carefully remove the pin from each pleat and
re-pin to attach pleats to waistband.

49. Sew the waistband ½ inch from the pinned, top edge. Take your time.

50. Sew each pleat slowly and remove each pin as you come to it.
DON’T SEW OVER THE PINS!

When you finish, the apron and waistband are attached and all of the pleats are held in place.
51. Open the top half of the waistband to prepare for pressing.

52. Press the top edge of the waistband ¼ inch along staystitch line to create a folded finished edge.

53. From the back side of the apron, press the bottom of the waistband where it attaches to the apron.

54. Flip over the top half of the waistband to cover the pleats and press in place.

55. Pin the top of the waistband to the front of the apron on the pleats to keep them flat.

56. Edgestitch ⅛ inch from the bottom edge of the waistband. Make a few stitches, then backstitch to secure the stitch line.

57.Take your time and make sure to keep the pleats flat as you sew.

58. When you get to the other side of the pleats, backstitch to secure the threads.

59. Continue to edgestitch ⅛ inch along the waistband until you get to the end.

60. Edgestitch ⅛ inch to finish the end of the waistband tie.
Backstitch at each end of the stitch line.

61.The finished end of the waistband tie should look like this.

62.Now tie that waistband in a cute bow!

You’ve finished! Congrats! Now snap a pic of your latest creation and email me: toni@sewsewlounge.com

Hi, I’m Toni. I teach creative gals how to sew—no experience needed!